How to tell if your motorhome or campervan has water damage
A little bit of moisture is harmless enough. If left unaddressed, though, water damage can lead to thousands of dollars in repairs and restoration costs for your class B motorhome, camper van or RV.
If you’d rather have a professional inspect your vehicle or you find water damage, call around to ask which repair shops offer this service. RV repair costs can be quite high — as much as $800 or more for water damage repair and at least $1,500 for leakage repair. This is why DIY regular inspections are recommended to catch a minor issue before it becomes a major problem.
Here’s what you need to know about inspecting your motorhome for water damage.
How Often Should You Inspect Your Motorhome?
We recommend motorhome owners Inspect for water damage at least twice per year — in the spring and fall. If you use your camper or RV regularly, inspect it before and after each trip. When you’re on an extended trip, try to perform a mini-inspection at least once a month to look for any signs of impending damage before it has a chance to ruin your vacation. Your twice-yearly inspections should be more detailed and comprehensive. Interim inspections can be simple visual checks.
Identifying Water Damage: What to Look For
Storms, floods, and ground level water damage
Just as your home can sustain some water damage, so too can your motorhome. But you should check for ground level water damage whenever you get caught in a major storm. Here’s how to look for water damage:
- Start with the sniff test. Do you smell that tell-tale damp mildew scent?
- Next, take a look around. Do you see any watermarks, even though everything feels dry? Look for moisture, discoloration, or mold on carpet, upholstery, and ceiling fabric.
- Check the corners and other nooks and crannies for pooling water, mud, and debris.
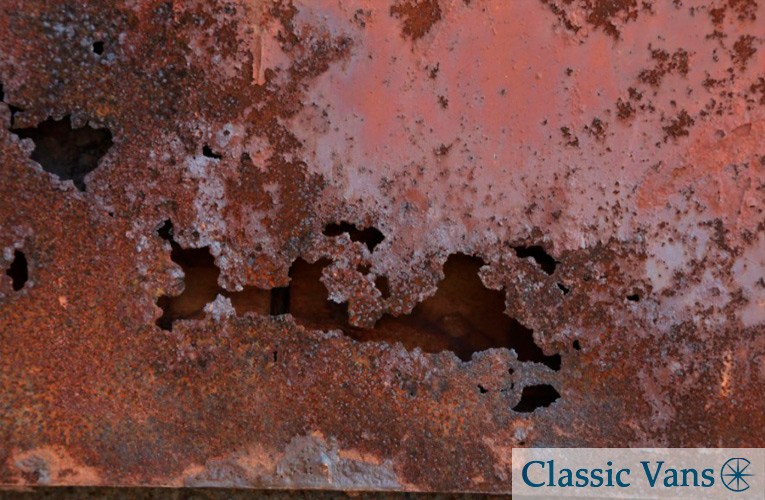
- Check for rust inside and out.
- Check your headlights and taillights for signs of trapped moisture.
Looking vs. inspecting
There’s a difference between walking around your motorhome and actually inspecting it. A quick walkaround or a simple ground level inspection is like kicking a tire and calling it a car safety inspection. Damage can often be invisible or contained in areas where you cannot see without a closer, more thorough inspection. Even when the components seem intact, they can break down without notice. That’s why it’s important to inspect your motorhome inside and out, top to bottom.
When you inspect your camper, use your hands and your eyes. Inside, you may need to get on your hands and knees to check areas at the floor level. Don’t forget to check the roof of your vehicle, too.
Follow These Steps to Inspect Your Motorhome
Follow these instructions when you’re ready to inspect your motorhome or RV for water damage:
Inspecting the exterior
1. Inspect the roof, paying close attention to the front and rear seams.
- Feel for soft spots and look for cracked, peeling, or damaged panels and materials.
- Look for loose or damaged seams.
- Closely inspect the sealant at every opening or seam.
2. Check for signs of delamination.
- Delaminating occurs when water gets trapped between the sidewall and the exterior fiberglass.
- Look down the front and rear sides of the motorhome to check for noticeable bubbles or ripples.
- Press the sidewall to check for buckling or signs that it has come loose.
- Look to see if the fiberglass has separated from the sidewall.
3. Locate any outside shower, water heater, city water inlet or potable water fill.
- Check for cracks or loose seals on the outside.
- Inspect the inside connection for evidence of leaks coming from the outside, or signs of water damage.
4. Open and inspect outside storage compartments.
- Check for discoloration, rust, odor, mold or mildew.
- Double check the interior walls that correspond to those exterior compartments to ensure that there are no signs of damage.
Inspecting the interior
1. Feel for soft spots in or around these areas:
- HVAC units and anywhere heating or air conditioning units or vents connect to walls or lead to the outside
- Roofing and plumbing vents or other areas where holes are cut in the roof
- Walls and side walls, especially around doors, windows, slide outs, and vent openings
2. Pay special attention to cabinets and overhead compartments.
- Look for discoloration, especially where the top corner makes contact with the ceiling.
- Feel for soft or loose spots anywhere inside.
- Smell for signs of mold or mildew.
3. If you have a class C motorhome, inspect the cab-over bed area.
- Check for water underneath the mattress.
- Look for discoloration in the compartment and on the ceiling.
- Feel for soft spots and look for any cracks or damage around the opening or on the ceiling.
- Check for odors that indicate molding in the compartment or in the mattress.
Be Proactive About Motorhome Water Damage
Keeping your motorhome, campervan, or RV road-ready involves more than tires, oil, and fuel. It’s worth making sure your camper is free of water damage. This way, you’ll reduce the possibility of breakdowns while you’re on the road and save money on repairs.